
Manta Pacific is a modular Layer 2 solution for Ethereum, utilizing rollups to bundle transactions from its execution layer to the consensus layer on the mainnet. This network enhances transaction efficiency and scalability, using Celestia for data availability to reduce gas fees. The native token, MANTA, is used within the Manta ecosystem for various functions, including staking and transaction fees.
MetaMask is a widely used Web3 wallet known for its compatibility with Ethereum and other EVM-compatible blockchains. It allows its over 100 million global users to securely store and manage their crypto assets and interact with various decentralized applications (dApps).
However, MetaMask does not have Manta Pacific pre-installed as it's not an Ethereum-based network by default. You can add Manta Pacific using RPC details manually or through ChainList to enable MetaMask to interact with the Manta network.
Installing and Setting Up MetaMask
To start, download the MetaMask extension for your browser from the official MetaMask website. Follow the setup wizard to create a new wallet, set a strong password, and securely back up your seed phrase. This seed phrase is crucial for wallet recovery and should be stored safely. Once set up, MetaMask is ready to interact with various blockchain networks.
Here’s a guide to help you set up a new MetaMask wallet.
Adding Manta Pacific to MetaMask with RPC URL
Follow these steps to add the Manta Pacific network to your MetaMask wallet using the RPC URL information:
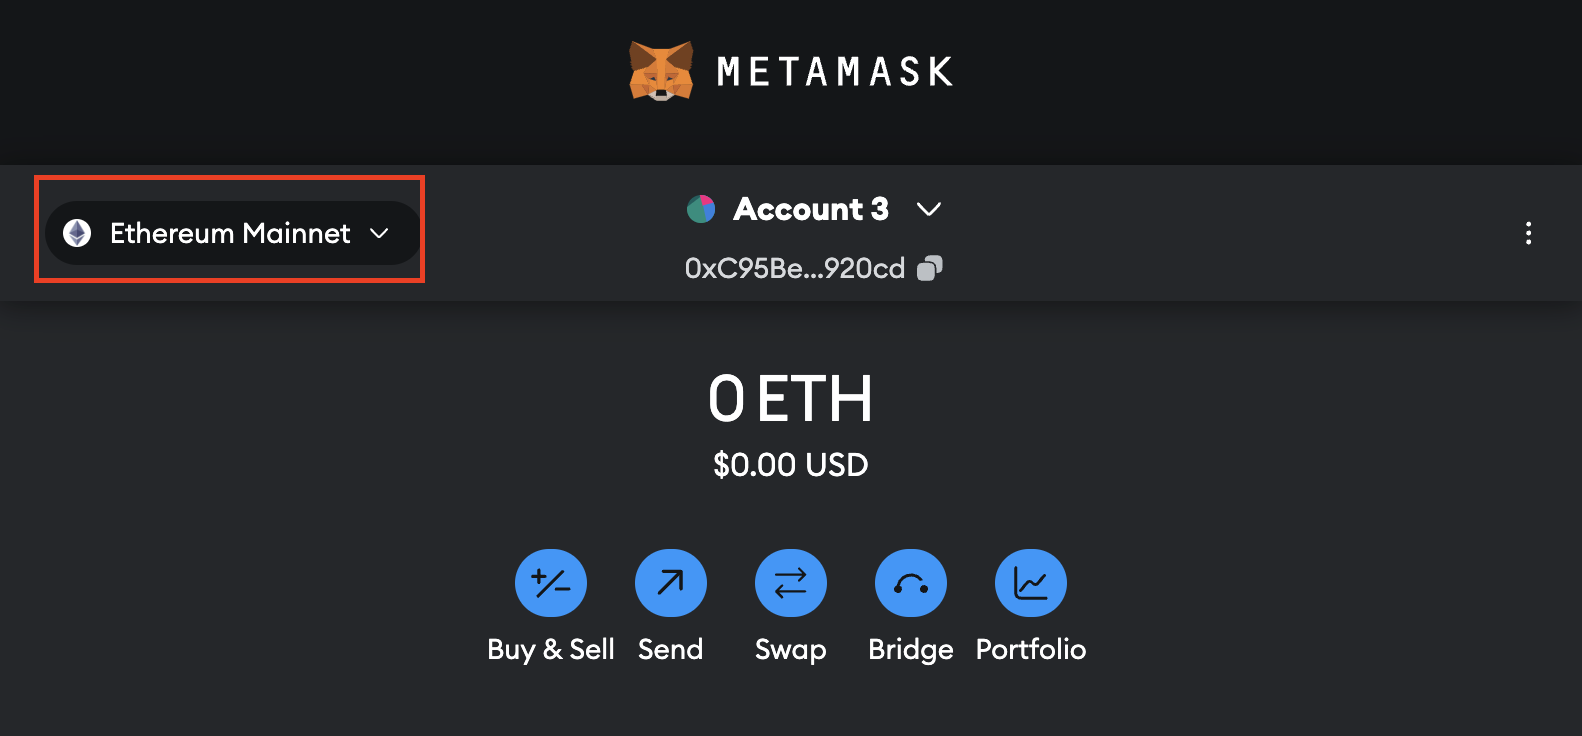
Step 1: Open MetaMask
Launch your MetaMask wallet and click on the network dropdown at the top.
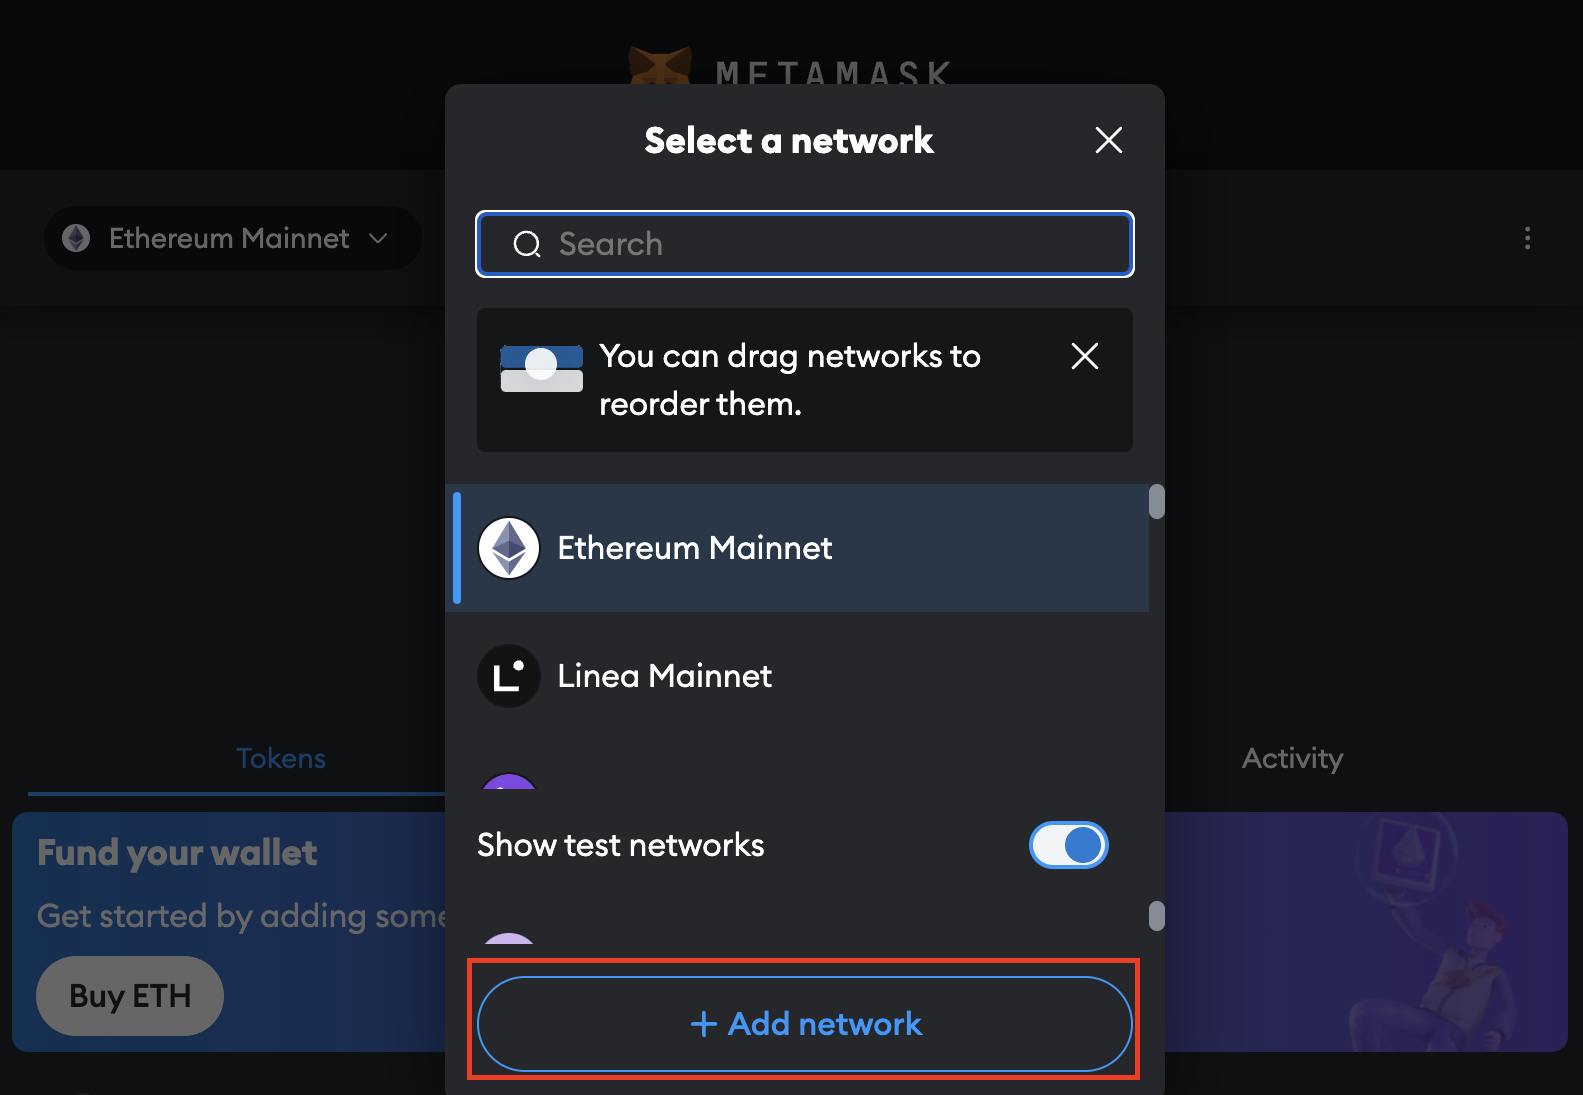
Step 2: Add Manta Network
Select Add network at the bottom of the dropdown menu.
Step 3: Enter Manta Pacific Network Details
Choose Add a network manually and fill in the following details:
-
Network Name: Manta Pacific L2 Rollup
-
Chain ID: 169
-
Currency Symbol: ETH
-
Block Explorer URL: https://pacific-info.manta.network/
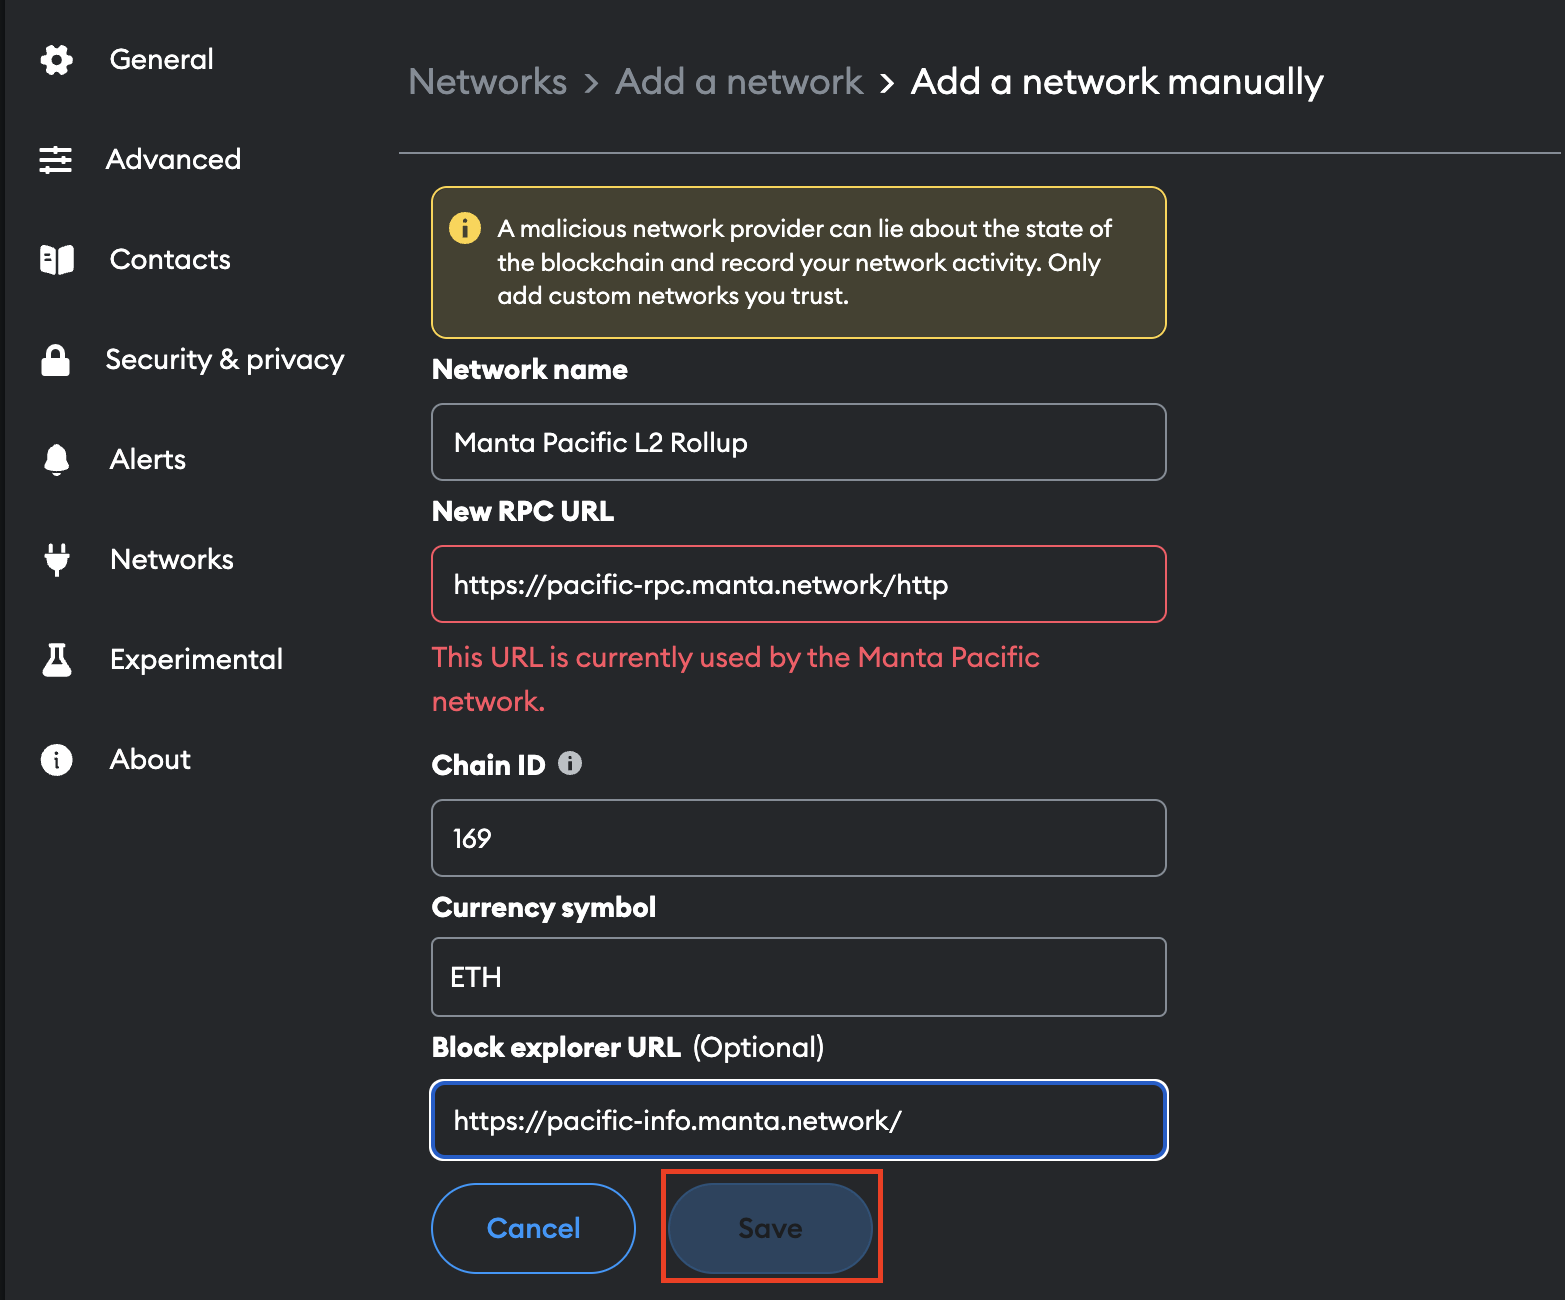
Step 4: Save Network Details
Click Save to add Manta Pacific to your MetaMask networks’ list. You can now switch to the Manta Pacific network within MetaMask.
Adding Manta Pacific to MetaMask via ChainList
Using ChainList, an aggregator of EVM networks, simplifies the process of adding Manta Pacific to MetaMask:
Step 1: Visit the ChainList Website
Go to the ChainList website.
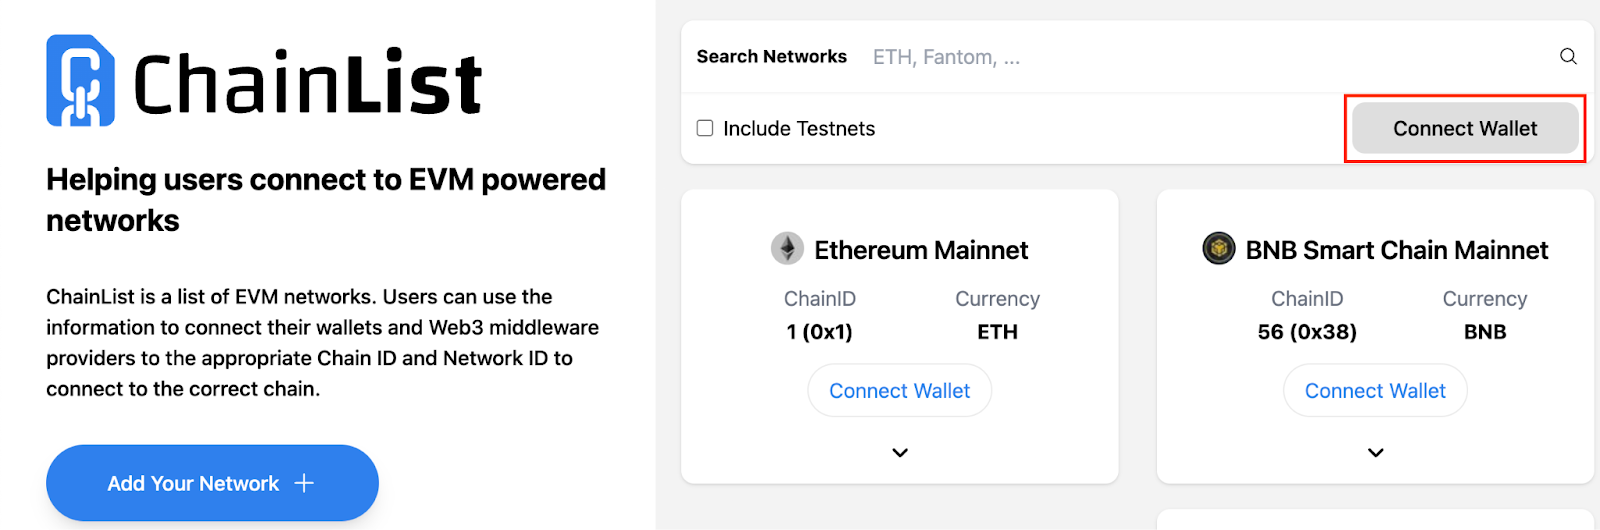
Step 2: Connect MetaMask to ChainList
Click Connect Wallet in the top right corner and approve the connection to your MetaMask wallet.
Step 3: Search for Manta Pacific
Use the search bar to find Manta Pacific and confirm the network details (Chain ID: 169).
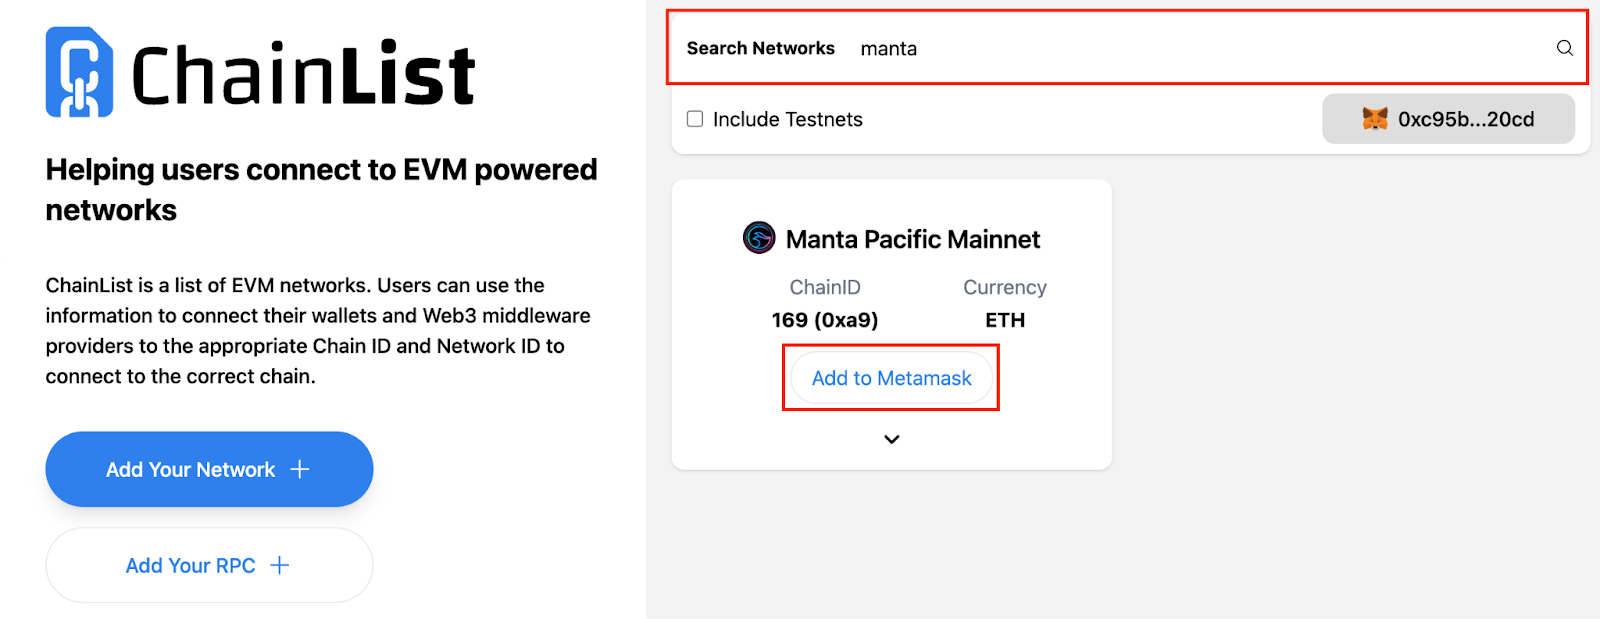
Step 4: Add to MetaMask
Click Add to MetaMask and approve the transaction request. This method simplifies the process by automating the addition of new networks, reducing the risk of errors.
Using Manta Pacific Network with MetaMask Wallet
With MetaMask connected to Manta Pacific, you can manage MANTA tokens, interact with Manta-based dApps, and explore DeFi opportunities, such as staking, lending, and liquidity provision on the Manta Network.
Ensure you have sufficient MANTA tokens to pay gas fees when using the Manta Pacific network. You can purchase Manta tokens on KuCoin and transfer them to your wallet before getting started.

Conclusion
Adding Manta Pacific to MetaMask enhances your ability to interact with this scalable Ethereum Layer 2 solution. By following the steps outlined, you can seamlessly connect to Manta Pacific, manage your assets, and explore its rich ecosystem of applications. Always verify details from reliable sources and stay cautious about the permissions granted in MetaMask.
By integrating Manta Pacific into your MetaMask wallet, you gain access to a high-performance network that leverages Ethereum's security, offering a versatile and efficient platform for experiencing the world of crypto and web3.
Further Reading

